A couple of months ago I made a pair of bathroom curtains for my Gran which also featured in my very first blog post. Well once I had made them my other Gran started to hint that she needed a new pair of kitchen curtains! I should know by now that I can't make for one without the other but somehow I always forget.
I thought it would be a good idea to write down what I did to make the curtains. Now I am not really qualified to tell other people how to make curtains, and there are lots of tutorials out there, so this is really more of a note for my own future reference!
I started by measuring the curtains she already had up to get my finished measurements and then added 12cm to the length and made sure I had 8cm on the width for the hems. I started by checking that I had a straight edge for cutting the first curtain then lined up the pattern to ensure that I managed to match the pattern across the two curtains.
I then created a 2cm double fold hem for each of the sides.
.jpg)
I then stitched the sides down using the straight stitch on my machine. Actually I was very lazy and just used a strait stitch to do all my seams - no blind hemming for me! I know I was cutting corners here but to be honest the stitches vanish into the fabric and I think it looks fine.
.jpg)
I then folded the top down by 2cm and created a 5cm double hem at the bottom. I then struggled for ages as to how to miter the corners properly at the bottom, before settling for a mock mitered corner as per this tutorial! I think it looks ok.
.jpg)
The last set of curtains I made both my mum and Gran mentioned that when they have had curtains made for them before there was a small pocket for the extra hemming cord to sit when they are hung. So I pulled out a small strip of off white fabric from my stash and created this little pocket to include under the heading tape. I did this by eye and didn't take any measurements but its about 3" long and 2" wide.
.jpg)
.jpg)
Pinning the tape on the second curtain.
.jpg)
The only bit of hand sewing I did was to stitch down the mitered corners.
.jpg)
They then got folded up for a week until I went to visit my Gran.
.jpg)
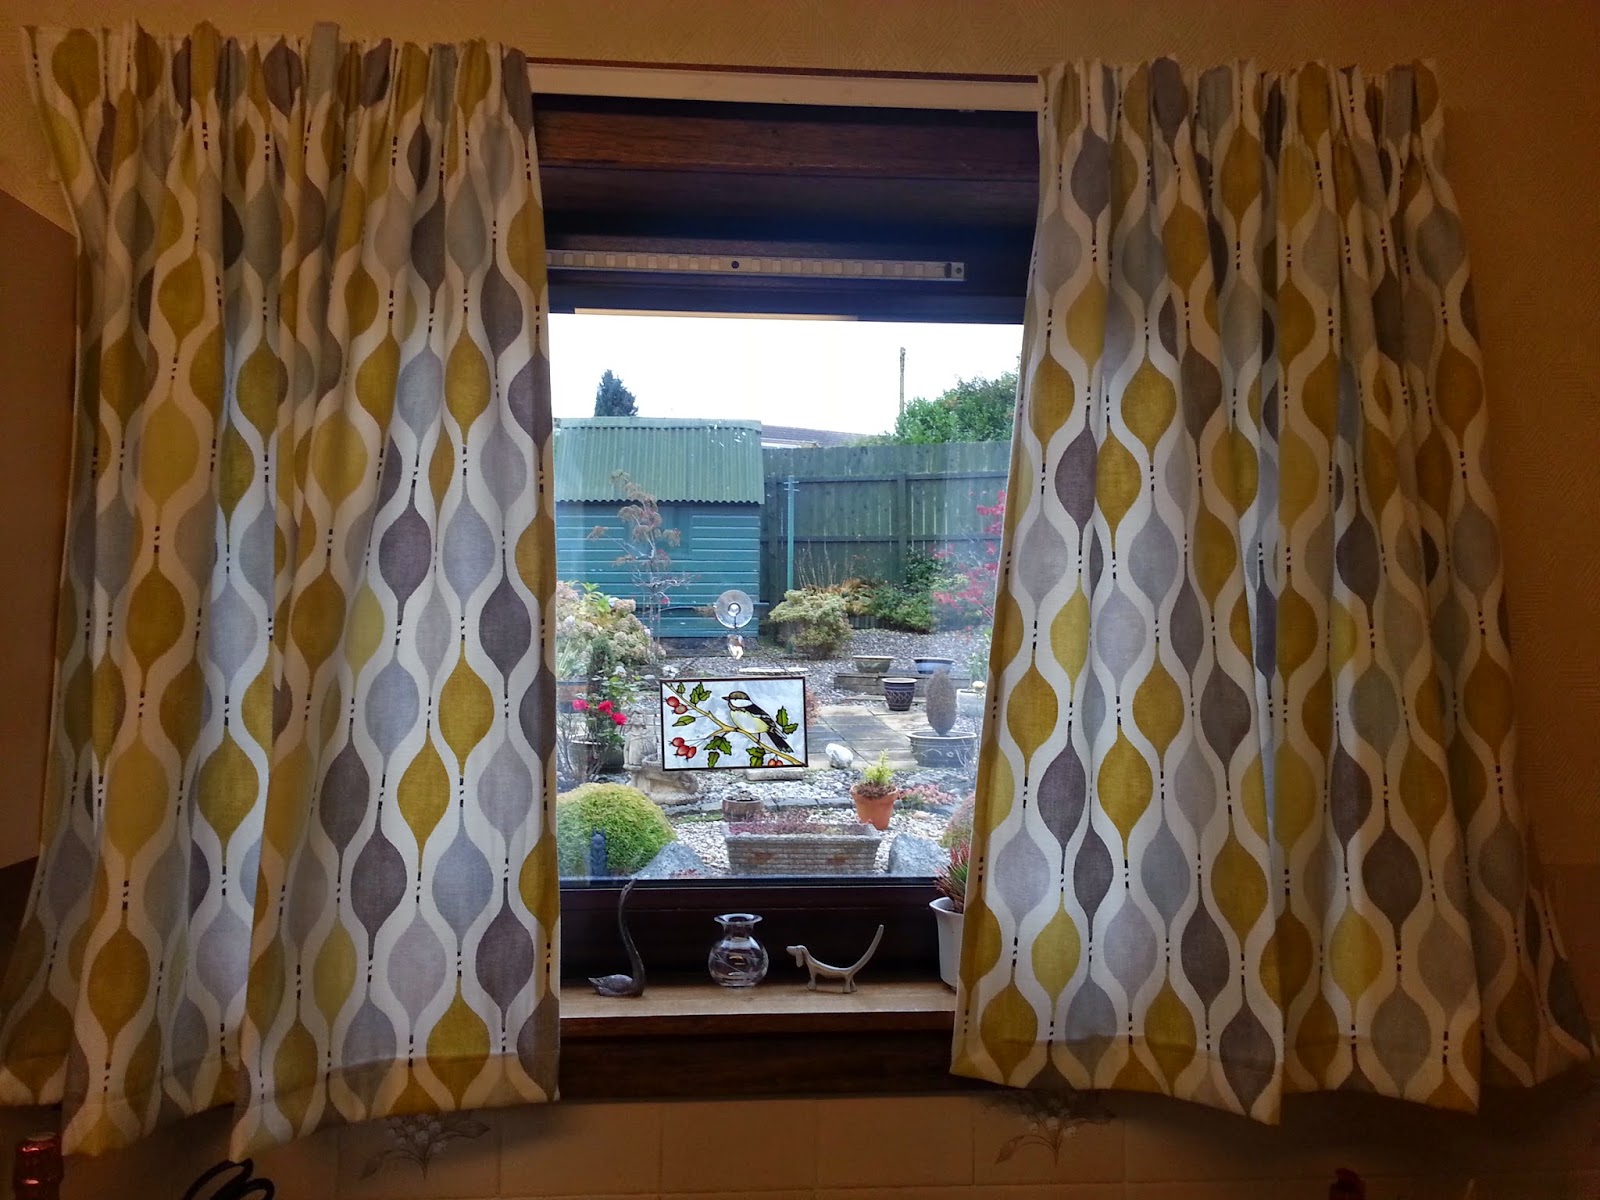
In pride of place (sorry for rubbish photo - it was getting dark so the light is a bit off!)
See you all soon x
P.S. I love to chat so feel free to leave a comment!
No comments:
Post a Comment